Temporary Tattooed Pumpkins DIY

Temporary Tattooed Pumpkins DIY : Stoney Clover Lane

We are so obsessed with all of our temporary tattoos, so we decided to play around with them while decorating some pumpkins. It was so easy, and now our pumpkins are #goals! Just cut out the tattoos and apply as you would to skin. Try out our pumpkin decorating DIY for yourself! LUCK + LOVE

Temporary Tattooed Pumpkins DIY : Stoney Clover Lane

Temporary Tattooed Pumpkins DIY : Stoney Clover Lane

Temporary Tattooed Pumpkins DIY : Stoney Clover Lane

Temporary Tattooed Pumpkins DIY : Stoney Clover Lane

DIY: Gallery Wall

DIY Gallery Wall : Stoney Clover Lane

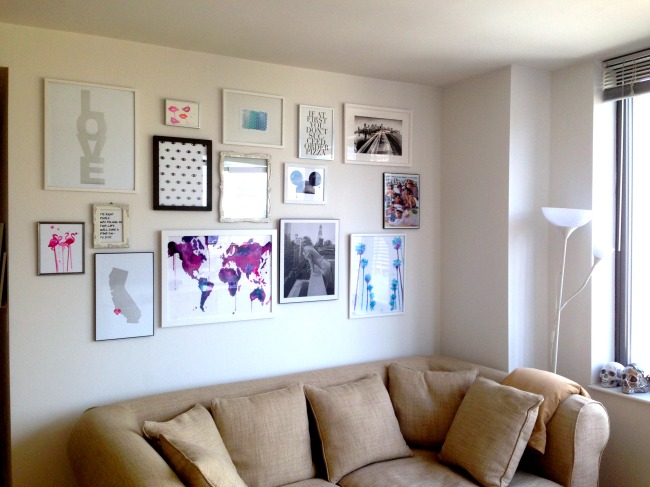
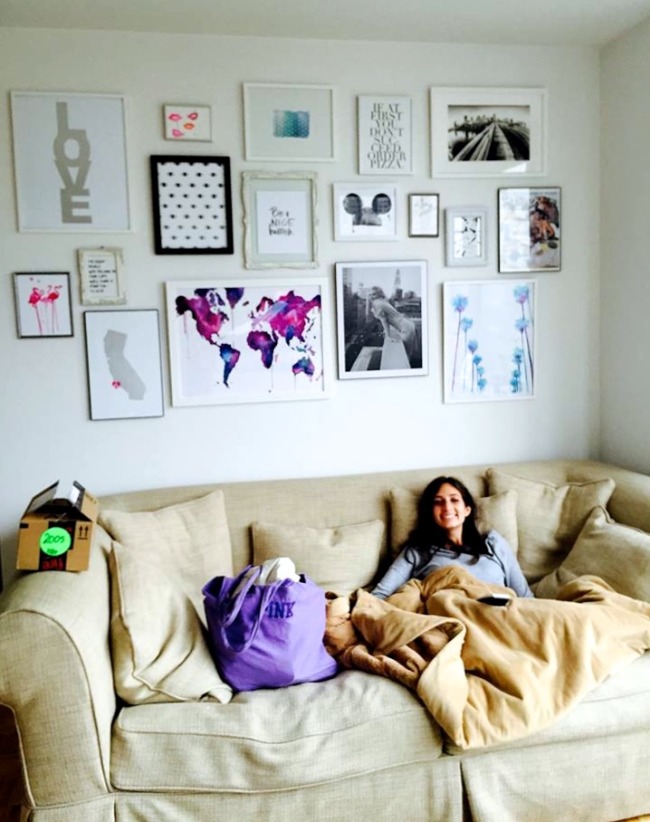
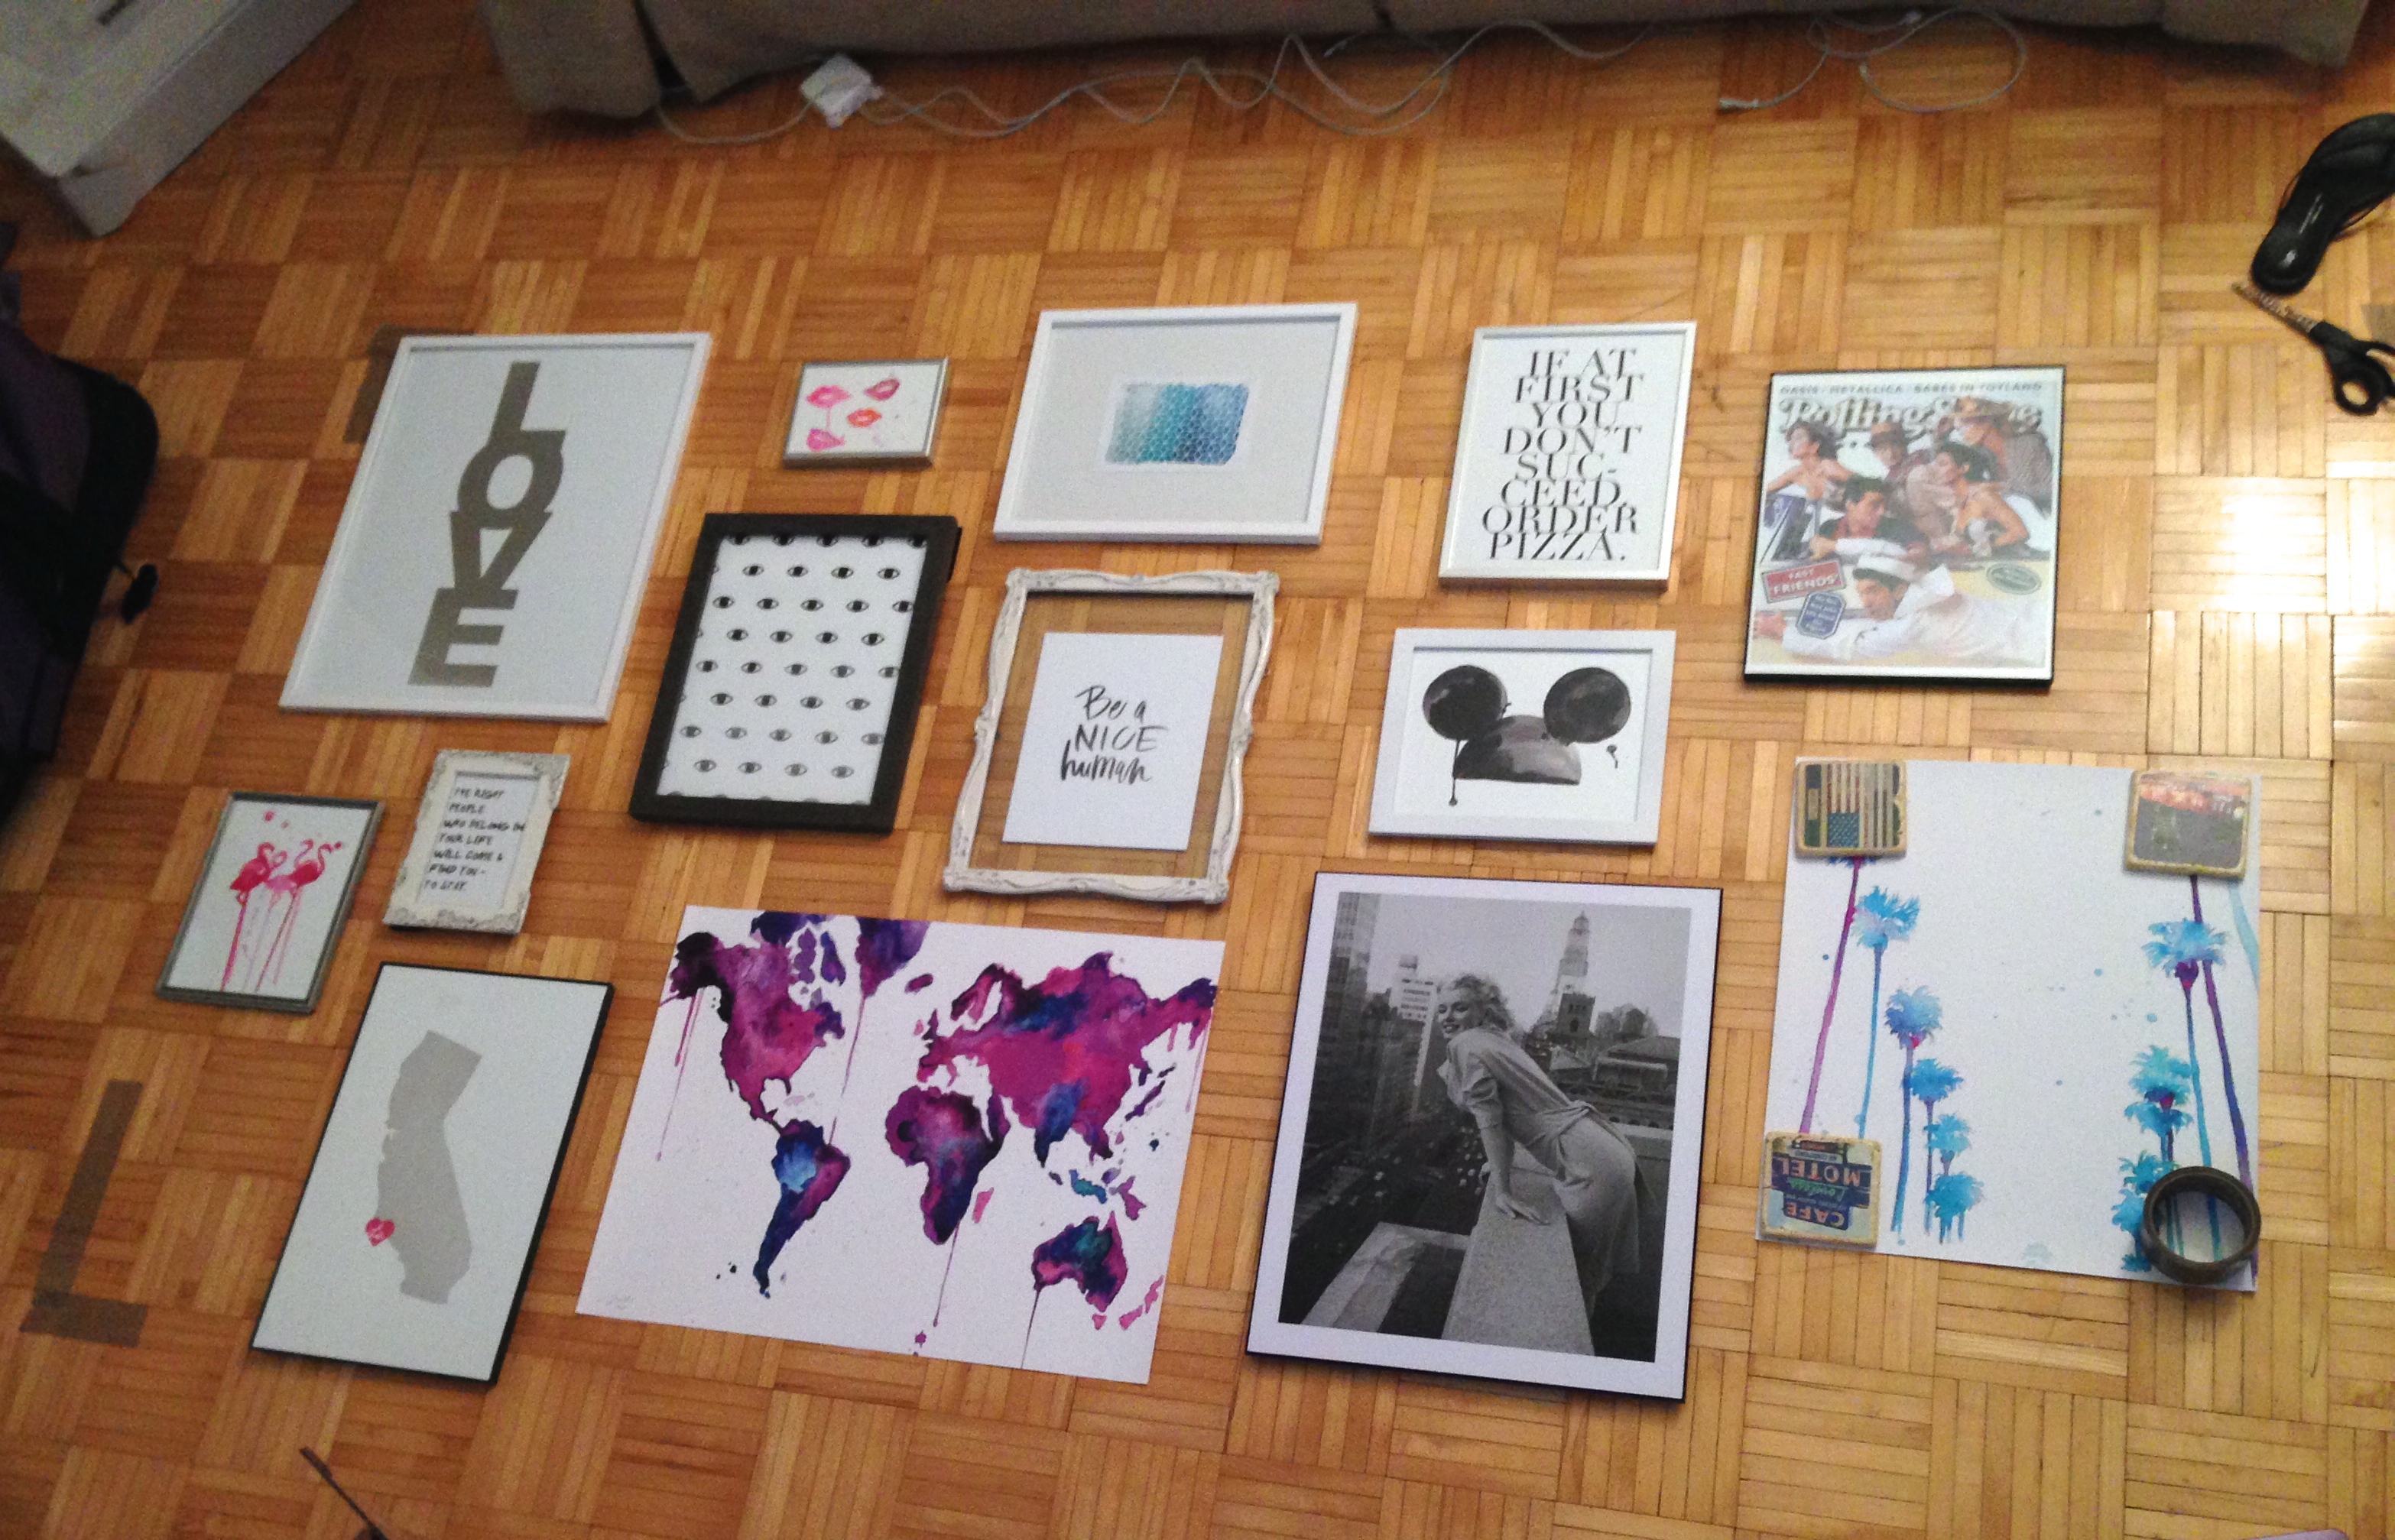
Moving to New York meant a totally blank, empty space, and I {Gabi} could not have been more excited to start decorating my new apartment. My favorite thing we did in the apartment was the gallery wall above the couch in my living room. It started out with a few pictures and prints that I had collected and kept from “decorating” my various collage rooms/apartments in Nashville, and quickly grew as I found more and more great prints online. My roommate Alix and I had so much fun picking out different prints and frames to mix and match on the wall, and now that our collection had grown, we knew it was time to start.

First we measured the area of the wall that we wanted to fill, and recreated these dimensions on the floor by marking with tape. We then laid out the framed pictures in the area on the floor until we figured out the perfect design. With the help of our handyman (thanks Andy!) we hung the pictures up, replicating our placement on the floor. Since everything shifted a bit once it was up on the wall, we ended up having extra space and filled it with some more of the prints we had as well as a few new ones, and the whole wall came together perfectly! LUCK+LOVE

gallery wall1

gallery wall2

gallery wall

DIY Menorahs

DIY Menorah : Stoney Clover Lane

Happy Hanukkah to everyone celebrating! In the spirit of the holiday we decided to make two of our very own menorahs , and we can’t wait to light them. Check out how we made them below. LUCK + LOVE


Animal Menorah

DIY Menorahs : Stoney Clover Lane

What you need:

Instructions:

  1. Spray paint the plastic toy animals with your color of choice, and let them dry
  2. Place the painted animals on your base in the order you prefer, then glue them down
  3. Glue a hex nut (to hold the candles) to the top of each animal
  4. Place candles in hex nuts and light!


Hello Kitty Menorah

DIY Menorahs : Stoney Clover Lane

What you need:

Instructions:

  1. Remove the top and string from each bubble container, empty the bubbles, and rinse with water
  2. Spray paint the plastic hello kitty containers with your color of choice, and let them dry
  3. Take two hello kitty containers, and glue them together for the shamash candle
  4. Glue a hex nut to the top opening of each hello kitty container
  5. Secure each container onto the wood base with glue
  6. Add candles and light!

DIY: 4 Easy Emoji Crafts

4 Easy Emoji DIY Crafts : Stoney Clover Lane

If you couldn’t already tell, we LOVE emojis–and not just in our texts. Our emoji collection is one of our absolute favorites yet! And just like our bracelets, we wanted to take emojis to a whole new level with these 4 awesome emoji DIY crafts! LUCK+LOVE

1. EMOJI PUMPKINS from Brit + Co

DIY Emoji Pumpkins

2. EMOJI COASTERS from Perler_Art

Blast from the past- perler beads are a great way to make fun and creative coasters! You can use stencils like this and this to make the perfect emoji.

DIY Emoji Coasters

3. EMOJI MASKS from Alice & Lois

DIY Emoji Masks

4. EMOJI BALLOONS from Studio DIY 

DIY Emoji Balloons